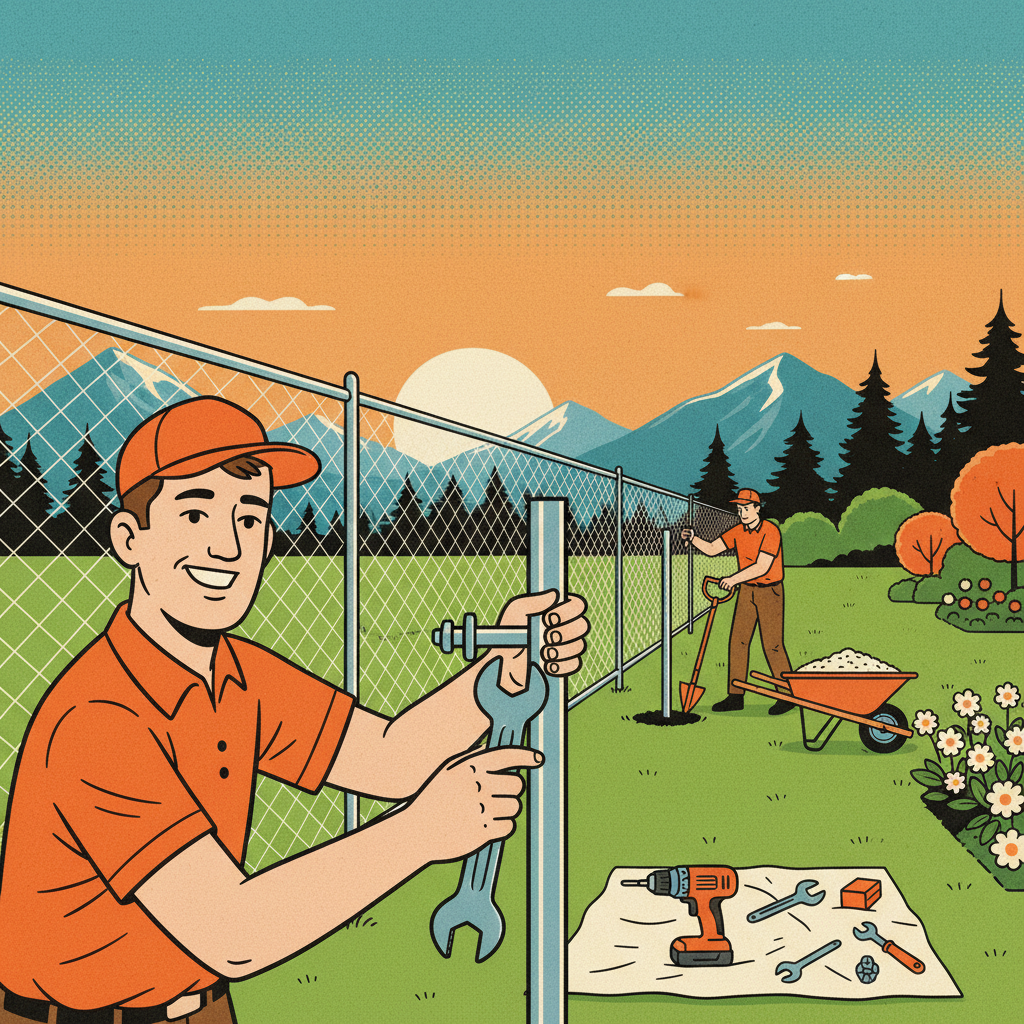
How Professional Post Fence Repair Extends Your Fence's Lifespan
One soft, rotting post can pull an entire fence out of alignment. The quick fix you tried last summer? It probably treated the symptom, not the cause. True post fence repair goes deeper—finding the hidden rot, poor drainage, frost heave, or impact damage—and correcting it so your fence stays straight, safe, and good-looking for years.
Start with a Quick 90-Second Stability Check
Grab a coffee and walk the line:
- Sight the top rail. Any waves or dips? That’s post movement.
- Push each post at waist height. Spongy side-to-side = base decay.
- Look at ground contact. Mushy wood, flaking metal, cracked concrete, or gaps at the soil line are red flags.
- Open and close gates. If latches scrape or drop, load is shifting.
- Scan the grade. Does water pool at posts after rain? That invites rot and frost heave.
If two or more of these show up, it’s time for professional post fence repair—not another temporary brace.
Why Posts Fail (and How That Shortens Fence Life)
A fence doesn’t usually “fail” all at once. It starts at the ground line where moisture, oxygen, and microbes meet.
- Rot at ground level (wood posts) due to constant wetting.
- Poor drainage / capillary wicking that keeps bases saturated.
- Frost heave lifting shallow sets in freeze–thaw cycles.
- Wind load and gate stress that fatigue posts and hardware.
- Shallow holes or no gravel sleeve at installation.
Translation: if you don’t remove moisture and movement from the equation, you’ll keep resetting the same fence repair post again and again.
What Pros Do First: Diagnosis Before Digging
Good contractors don’t jump to concrete. They investigate:
- Moisture mapping and probe holes to check rot below grade.
- Frost depth confirmation so replacement footings aren’t too shallow.
- Soil type & compaction (clay, sand, water table).
- Gate load path—corners and gate posts carry the most stress.
- Wind corridors & setbacks to plan bracing and spacing.
- Utility locates (BC One Call) and permits where required.
That documented inspection prevents callbacks and ensures the repair addresses the real cause.
Repairs That Actually Extend Lifespan (Not Just Patchwork)
1) Drainage-First Footings
- Gravel sleeve around the post to shed water.
- Hybrid footing: gravel bottom for drainage + concrete collar at the top for lateral strength—ideal for gates/corners and freeze–thaw zones.
- Weep paths or French drains where soil stays wet.
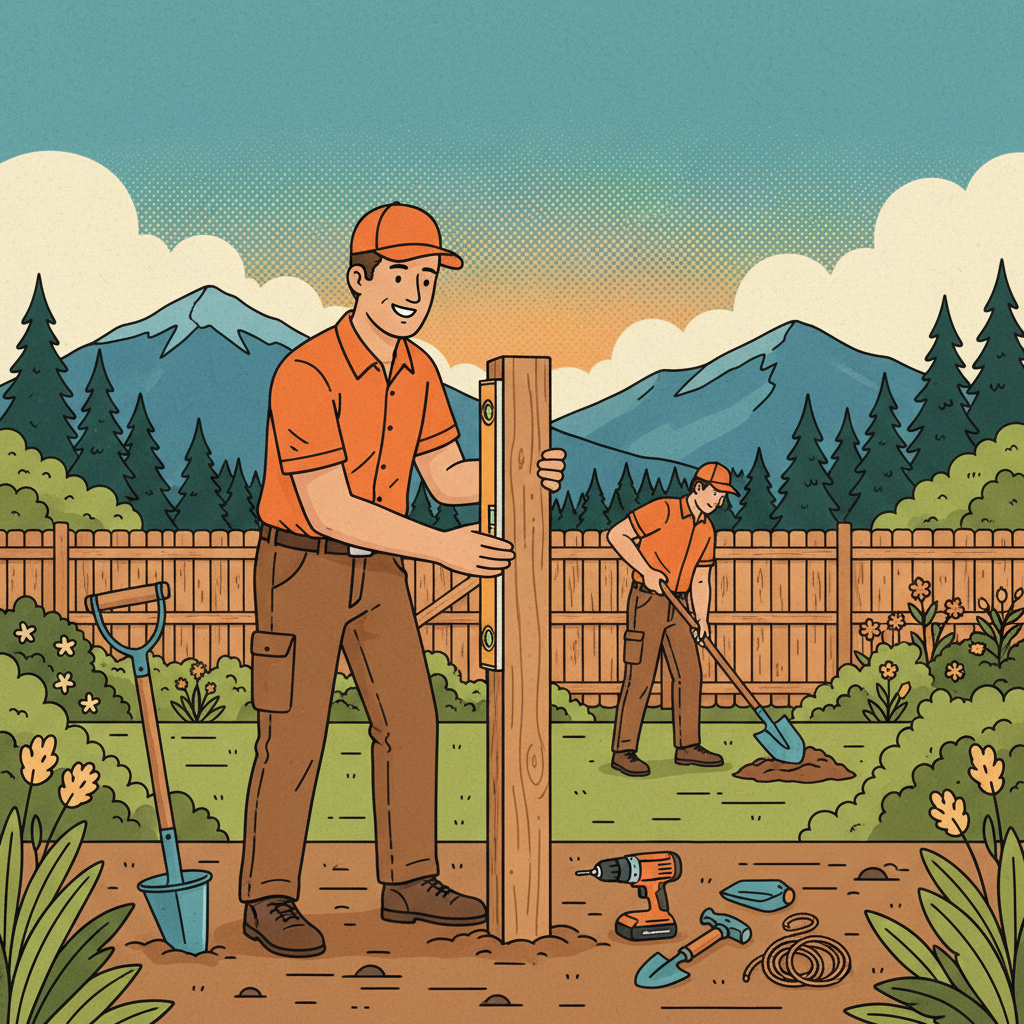
2) Set Posts Below Frost
- Proper depth stops seasonal lift. String lines keep spacing true and rails level.
3) Material-Matched Fixes
- Wood: remove localized rot, seal end-grain, add barrier sleeves, upgrade to UC4 treatment where needed.
- Galvanized steel / chain-link: hot-dip components, use stainless fasteners, and pack collars to prevent voids.
- Vinyl/composite: add steel inserts for strength; reset carefully to avoid cracking.
- Concrete posts: repair footings, cap joints, and redirect runoff.
The rule of thumb: reset if the core is sound; replace if the core crumbles. When in doubt, replace gate and corner posts first—they take the most abuse.
Concrete vs. Gravel for Posts—What’s Best?
- Concrete only: strong but can trap moisture and worsen frost heave.
- Gravel only: drains well but may shift under heavy loads.
- Best hybrid: gravel base + concrete collar. You get drainage and a stiff shoulder that keeps posts plumb—especially important for gates and corners.
DIY or Pro? Make the Call With Confidence
DIY makes sense when:
- You’re dealing with a single, non-gate post.
- The core wood/metal below grade is still solid.
- Access is clear, soil is stable, and utilities are marked.
DIY quick steps
- Brace panel plumb.
- Excavate and inspect below grade.
- Add compacted gravel sleeve; reset to string line.
- Backfill and, if needed, add a concrete collar.
- Seal end-grain and cap the post.
Hire a pro when:
- Multiple posts are failing or a fence repair post is a gate/corner.
- You see deep rot, frost heave, cracking concrete, or high water tables.
- You need permits, warranty, machine access, or tight-site logistics.
Pros also bring warranties, better materials, and crews who can bundle drainage, grading, and landscaping in one visit—often cheaper than repeated spot fixes.
Costs, ROI, and What Actually Saves Money
- Reset only: lowest cost, 1–3 years added life if the post is sound.
- Gravel sleeve + reset: moderate cost, 3–7 years added life.
- Hybrid footing + drainage fixes: higher upfront, 7–20+ years added life—best ROI because it removes the root cause.
Cost drivers: number of posts, access, soil type, gate/corner complexity, drainage work, and material upgrades (e.g., stainless hardware).
Local & Coastal Considerations (Salt, Frost, Water)
- Coastal moisture/salt: choose hot-dip galvanizing, stainless fasteners, sealed caps; rinse after storms.
- Freeze–thaw pockets: always set below local frost depth and use gravel sleeves to reduce uplift.
- Clay vs. sand: clay needs hybrid collars and drainage; sand may require deeper compaction.
- Timing: schedule major repairs in dry windows; inspect after heavy weather.
The 15-Minute Seasonal Checklist (Prevents Line-Wide Failures)
- String-line the top rail—look for dips or waves.
- Level against the post face—note any lean.
- Probe near bases with a screwdriver—soft means rot.
- Spring: clear debris, reseal cuts, fix low spots that pool.
- Summer: lube hinges, re-tension chain-link, trim vegetation off fabric.
- Fall: tighten bands, check bracing before storms.
- Winter: inspect after freeze/thaw for new gaps or uplift.
Small, regular tasks stop the “domino effect” that leads to replacements.
Fast Answers (Because You’ll Ask)
- Replace or reset? Replace when the core crumbles or rot runs deep; reset if the base is sound and you can improve drainage.
- Can I straighten a leaning post? Often yes—if decay is minimal and footing is corrected.
- Gravel or concrete? Hybrid gravel base + concrete collar wins for most climates.
- When to call a pro? Gates/corners, multiple failures, utilities nearby, or frost-depth uncertainty.
Why Choose Dream Team Landscaping for Post Fence Repair
- Reliability first: photo-documented inspections, clear quotes, arrival windows.
- Lifespan methods: drainage-first approach, UC4 treatments, hybrid footings, stainless/hot-dip hardware.
- Local savvy: coastal moisture, frost depth, soil quirks—we’ve seen (and fixed) them all.
- Warranties & compliance: BC One Call locates and code-aware installs.
Ready to fix it right? Book a documented inspection with a repair plan and timeline
Final Thoughts
If you’re tired of re-bracing the same lean, stop patching and start preventing. Effective post fence repair is drainage-first, frost-aware, and material-matched. Fix the base, set to the right depth, and use the right hardware—and your fence will stay straight, safe, and storm-ready. For anything more than a single straightforward fence repair post, a professional crew pays for itself in avoided rework and extra years of service.
READY TO TRANSFORM YOUR GARDEN?
Relates Articles
Real landscaping advice from our team—seasonal tips, project ideas, and maintenance wisdom earned over 30 years on Vancouver Island.